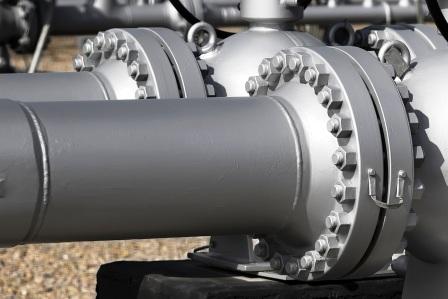
The flanged joints of pressure equipment can show deformations due to the bolt tightening process, or being generated later during service.
The appearance of this type of problem may mean that the equipment is not suitable to continue with the operation, with the consequent economic impact that would entail a stop, repair or replacement of the affected components.

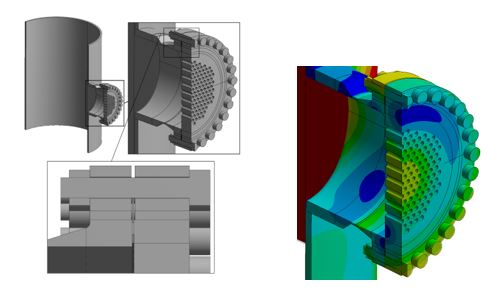
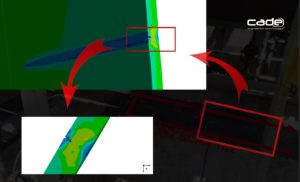
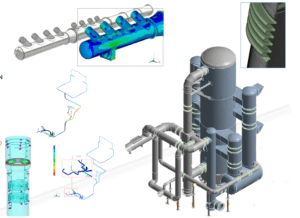
Through FEA simulation tools, it is possible to characterize and anticipate permanent or temporary deformations in this type of joint, either due to the operating and test conditions, or to the process of tightening the screws during assembly. The additional use of three-dimensional models, obtained using equipment scanning tools (Laser Scanner, FARO® focus s70), allows a faithful characterization of these and other defects (cracks, manufacturing defects, etc.), once they have already been produced.
Thus, a powerful methodology is available to:
- Anticipate potential leaks at the flange joints.
- Define or analyze the procedure and the tightening torque of the screws.
- Assess fitness for service (FFS study) if excessive deformations have already been detected.
- Study the non-linear behavior of the gasket material and flange under cyclical loads.

Similarly, by performing an RCA analysis, it is possible to analyze the possible causes that have led to the failure of a joint in order to subsequently establish corrective measures, correct operating parameters or define new geometries and materials for the flange or gasket.
These types of services, developed on a regular basis by CADE’s advanced mechanics and simulation department, allow equipment manufacturers and plant operators to have an agile tool that guarantees the integrity of these joints, without affecting the operation of the equipment, and avoiding associated risks.
To carry out these studies we have the support offered by design codes such as API_579-1-ASME_FFS-1, ASME VIII, or the European standard for pressure vessels EN 13445.


